

How To Change Photo Background Color In Photoshop
Do yous take a photo with a groundwork colour y'all don't like? We're here to show yous the step-by-stride process of how to modify background color in Photoshop.
It takes some patience, just information technology's then easy to do. So let'southward go started!


Step 1: Choose Your Photo
The quality of your finished image depends on the amount of time you spend on the process.
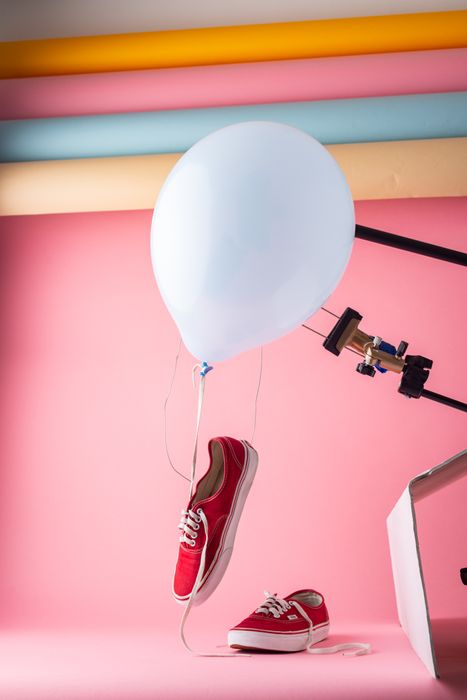
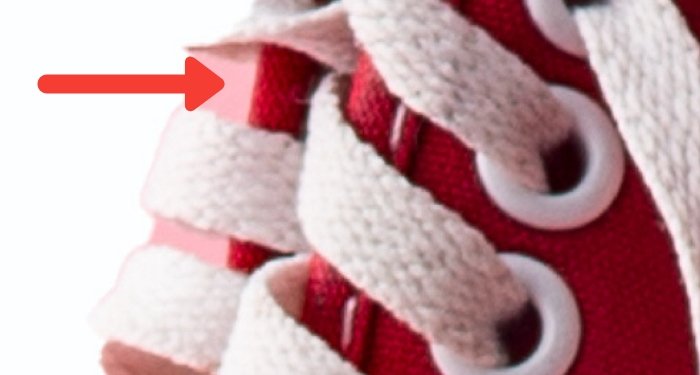
If information technology'southward your first time to change background color in Photoshop, choose an paradigm with sharp edges and a clean background. This will be easier to work with than a more complex composition.
Here are some things to avert when yous are new to isolating a subject area to change the background color:
- Pilus that's loose, frizzy, spiked or non smoothen;
- Subjects with detailed edges;
- Anything with edges not in focus;
- Motion blur;
- A background that blends with the subject.
Stride 2: Create Two Layers
Open your photo in Photoshop and make a duplicate layer (Ctrl or Cmd +J). So turn off the original layer.
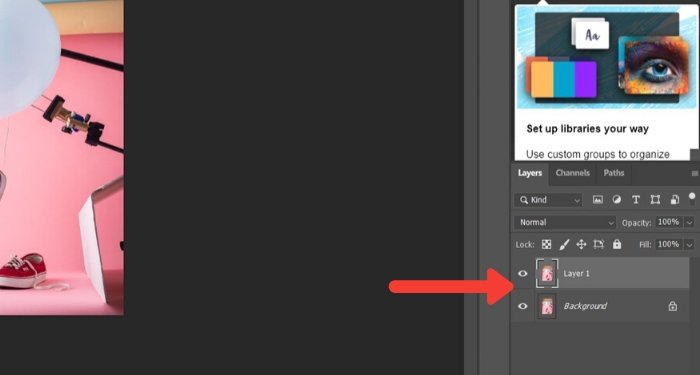
Brand a solid layer by clicking the 'Create New Fill or Aligning Layer' icon in the 'Layers Panel'.
Cull 'Solid Color' from the top.
Pick a color shut to the groundwork you will use, or cull white.
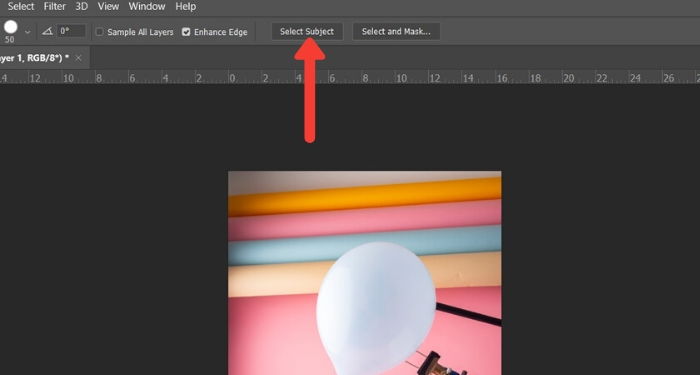
Step iii: Select the Bailiwick
Click on the 'Quick Option' tool in the 'Tools Panel'. And so click on the selection 'Select Field of study'. It's in the top bar above the image.
If the edges of your selection aren't sharp, Photoshop will let yous know that information technology cannot observe a prominent subject area. If yous come across this, endeavor other tools such as the 'Magic Wand' or 'Object Choice' tool.
Footstep four: Clean up the Edges
Unless your subject is super sharp, the resulting selection will non be perfect. So the side by side step is to polish it.
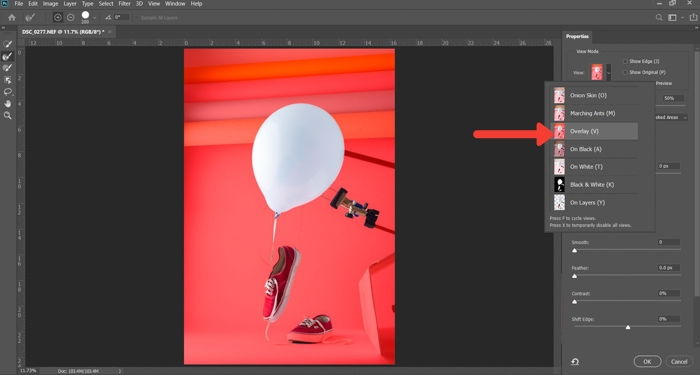
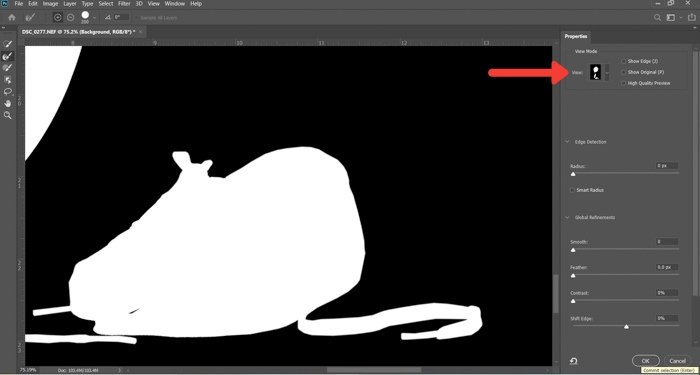
Keep the 'Quick Selection' tool selected. And click on the 'Select and Mask' choice box above your photo. Doing this opens a new window where you tin can brainstorm to refine your selection.
Utilise the 'Refine Edge' brush to include edges that blend too much with the background.
To assistance you come across the effect of this castor, select either 'Overlay' or 'On White'. These options are in the 'View' panel on the right side of your screen.
You can adjust the opacity to a point where you can see the effect of the castor as you utilise information technology.
Hither is an instance showing the 'Overlay' choice from the view panel at 50% opacity.
Work your way effectually the border in a clockwise direction to make sure y'all cover the whole outline.
You lot can control the size of this brush past using the [ and ] keys. You lot can as well control the event meliorate by using the 'Radius', 'Smooth', 'Feather', and 'Contrast' sliders. These are on the panel at the right of your photograph.
Experiment with these controls. You'll find the all-time balance for the different areas of the prototype. They volition have a varied upshot depending on the detail of your photo.
Once yous are happy with your option, switch the 'View' to 'Black and White'. Without the lark of color, you can better run across how your edges await.
If there are no further changes to make in the 'Output To Box', select 'Layer Mask' and click OK.
Step 5: Paint on the Layer Mask
Now yous have a new mask on your layer. If you want to refine the fuzzy edges further, apply the brush tool.
Gear up it to fifty% blackness, and paint on your subject to erase and parts you practise non wish to meet. Set it to 50% white, and paint over the background, which is still visible, to erase it.
Using the brush at 50% or lower opacity gives you lot more precise control. Doing then helps blurred or fuzzy areas of the edges look more natural.
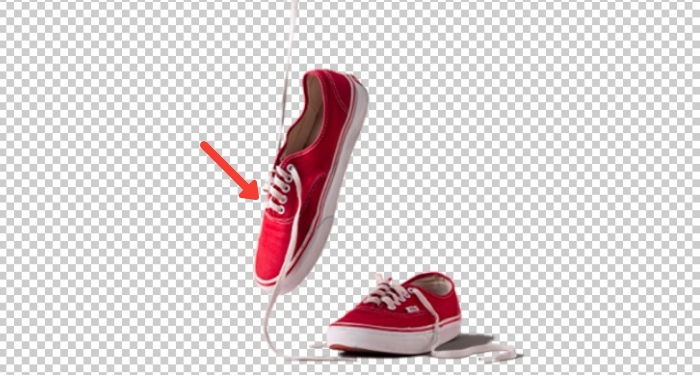
Step half-dozen: Select and Isolate Your Subject
Press Ctrl or Cmd and click on the layer mask to select the subject. Now duplicate the selection to a new layer using Ctrl or Cmd + J.
Hide other layers, so you only see your isolated subject and not the groundwork.
In this step, yous can as well resize your sail if you lot wish. This step is helpful if you want to add some text with your photo. Or, if y'all're going to make a blended with other images on the same background.
I chose to crop the image square because it looks best on Instagram. But you lot can try other sizes, also.
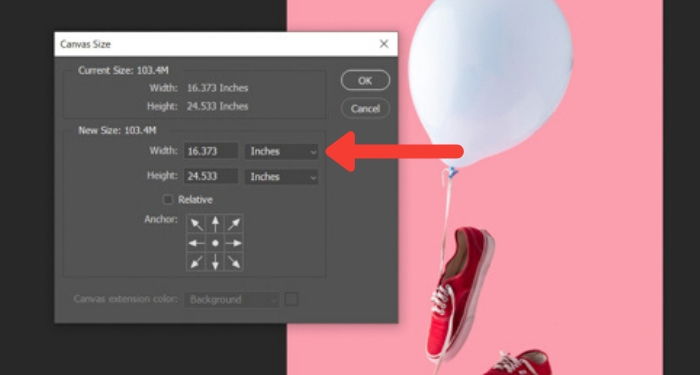
Step vii: Make a Solid Make full for Your New Background
In the Layers Panel, click on the 'Create New Make full or Adjustment Layer'.
Select 'Solid Colour' from the acme and choose the colour you want your new background to be.
Now how do I change the groundwork color to white in Photoshop? Simply pick the color picker, choose white, and you're good to go!
Of course, you don't need to limit yourself to solid colors. You can endeavor a realistic background as well.
Conclusion
Changing background colour in Photoshop is a elementary procedure once you go used to it. Once yous isolate the field of study, selecting the background color is equally easy as clicking on the color picker.
Practice this method as much as yous tin — you'll find it useful, particularly on social media.
And don't forget to show us your results in the comments section!
Want to acquire more nearly post-processing techniques? Check out our form Effortless Editing with Lightroom side by side!
Why not check our manufactures on all-time apps to add background to photos or how to batch resize in Photoshop as well!

How To Change Photo Background Color In Photoshop,
Source: https://expertphotography.com/how-to-change-the-background-color-in-photoshop/
Posted by: cannonbenty1991.blogspot.com
0 Response to "How To Change Photo Background Color In Photoshop"
Post a Comment